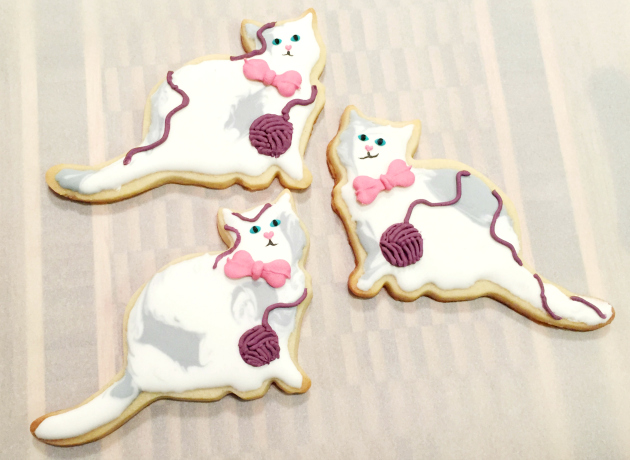
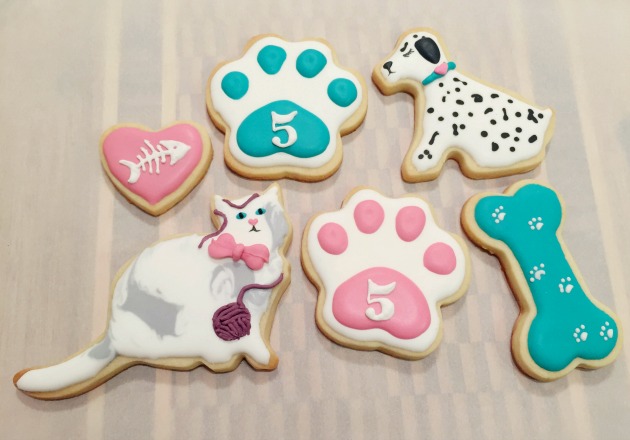
My daughter turned five in October (how did that happen???) and she wanted a doggie & kitty themed birthday party. I had planned to keep things simple since I have a new baby….but come on, who could resist such a fun theme? These dog and cat cookies were so much fun to decorate.
I really wish I had taken step by step photos but with my son being four months old at the time it was a choice between taking pictures or getting the cookies done. I chose to get the cookies done….
I used Sweetapolita’s sugar cookie recipe but chilled the cookies in the freezer for 10 minutes before baking @350F for 14 minutes. I made all the cookies in advance and when cooled I layered them between parchment paper in an airtight container and popped them in the freezer. A day before decorating I pulled them out and thawed the cookies on a cooling rack.
I made two batches of Wilton’s Royal Icing recipe (I add 1 tsp of clear vanilla extract for flavor and 1/2 tbsp organic corn syrup for elasticity). There was leftover icing but I’d rather have extra than too little.

How to Decorate Cat Cookies
Materials Needed:
- Cat cookie cutter
- 15 second white icing
- 15 second grey icing
- 15 second teal icing
- stiff pink icing
- medium-stiff purple icing
- black food marker
- scribe tool (or toothpick)
- tips 2, 3 and 352
Working on one cat cookie at a time I randomly added small amounts of grey icing using a tip 2. While the grey icing was still wet I filled in the rest of the cat with white icing using a tip 3. {Tip: When using 15 second icing and skipping outlining it’s important not to pipe too close to the edge, otherwise your icing could spill off the cookie. Instead use your scribe tool to help distribute your icing.}
I used the scribe tool to swirl the grey into the white to create a mottled effect in the fur.
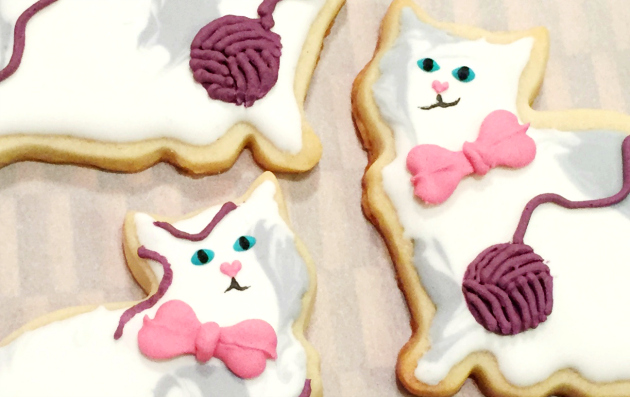
After the icing had dried overnight I added dots of teal icing for the eyes and shaped them with the scribe tool.
Using a tip 2 I added the heart nose with the stiff pink icing. The bow tie was based on Sweet Sugarbelle’s leaf bow tutorial. I used an edible marker to mark my start and midpoint and used a tip 3 to make the centers once my tip 352 ‘leaf’ bows had had a few minutes to stiffen up.
I added a splotch of purple as the base for the yarn ball and let dry completely.
A black food marker was used to color in the pupils. Then I dipped the scribe tool into the black icing and used it to draw on the mouth.
To finish off the playful cat cookies I piped the medium-stiff purple icing ‘threads’ onto the yarn ball using a tip 2. Finally I piped a yarn strand over and around the kitties so they’d look extra playful and adorable.

How to Decorate Fishbone Cookies
Materials:
- Your favorite heart cutter (I used the second smallest from this heart cutter set)
- 15 second pink icing
- medium white icing
- scribe tool

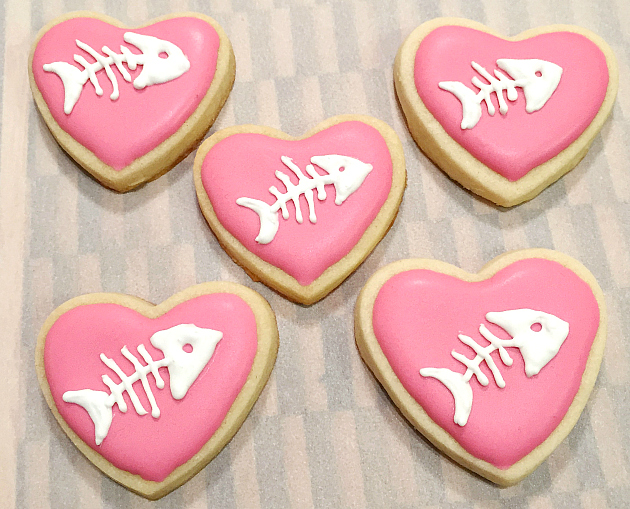
We all know kitties love fish so I wanted to incorporate that into this cookie platter. I saw several wonderful fishbone cookie cutters online that immediately wanted to buy. But, I’m running out of storage space for my cutters so I decided to get creative and make the fishbone on a heart cookie (my little girl loves heart cookies!).
First I flooded the cookie with 15 second icing that was the same pink color I used for the cat noses and bows.
Once the icing had dried overnight I used the scribe tool to scratch the basic shape of the fishbone as a guide. Then I piped the fishbone using medium white icing and a tip 2.

Check out parts 2 & 3 where I’ll tell you about the dalmatian, dog bone and paw print cookies…

Leave a Reply