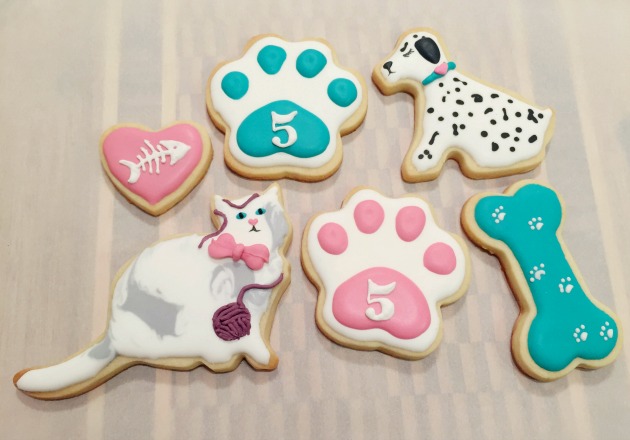
These dog cookies were part of a cookie platter for my daughter’s cat and dog themed fifth birthday party. You can check out Part 1 here for a look at the cat and fishbone cookies and Part 3 for the paw print cookies.
The inspiration for this collection was dogs and cats and the things they like. Since the kitties had their treat, the fishbones, it was only fitting that the doggies get dog bones.
One of the main things I tried to do with this cookie platter was streamline the colors. I didn’t have a lot of time and didn’t want to waste it mixing a whole slew of different colors. This is why the kitties are white and grey and why I went with dalmatians (well that and I kinda have a thing for them, they’re cute aren’t they?). The accent colors I kept to teal and pink, teal mostly for the dogs and pink mostly for the cats.
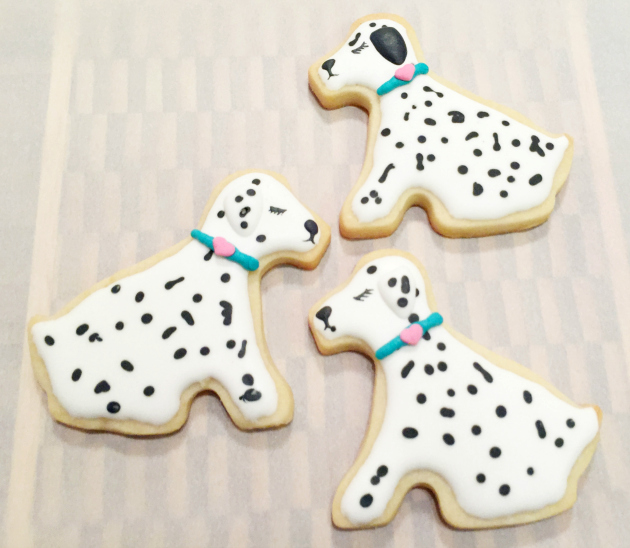
How to Decorate Dog Cookies
Materials Needed:
- Sitting dog cutter (I used the one from this Wilton pet set)
- 15 second white icing
- 15 second black icing
- Teal piping icing
- Pink confetti hearts
- Scribe tool (or toothpick)
- Tips 1 and 2.
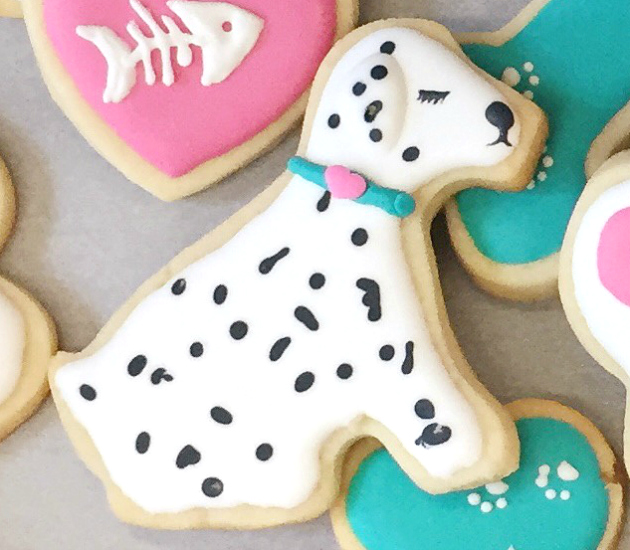
Outline and flood the cookie with white icing using tip 2. Use your scribe tool to help distribute the icing. While the icing is still when use your black icing with a tip 1 to crate the spots. Make them random and different shapes and sizes. You can look at pictures of dalmatians as inspiration to help you achieve the right look. One tip I’ll offer is to keep the spots away from the face. You want the facial features to be recognizable and spots will either look like beauty marks or may disguise or detract from the nose, mouth and eyes.
Allow your cookies to dry thoroughly and then carefully repeat this wet on wet technique for the ears. As you can see I did some ears with spots and some solid black.
Very carefully pipe the nose and shape with your scribe tool. Use the scribe tool to drag icing down from the nose to form the mouth. Dip the scribe tool into the icing on the nose and use it to form the eye crease and eye lashes taking care if the ears are still wet.
Pipe the collar with teal icing and immediately press a confetti heart into the collar. These pink hearts were from a Valentine’s Day sprinkle set that had red, pink and white hearts. Alternatively you could wait for the teal icing to dry and then create a heart using a round tip like I did with the cats nose.
If you wanted to you could go into more detail with the legs and tail but I liked the simplicity of this cookie. What do you think?
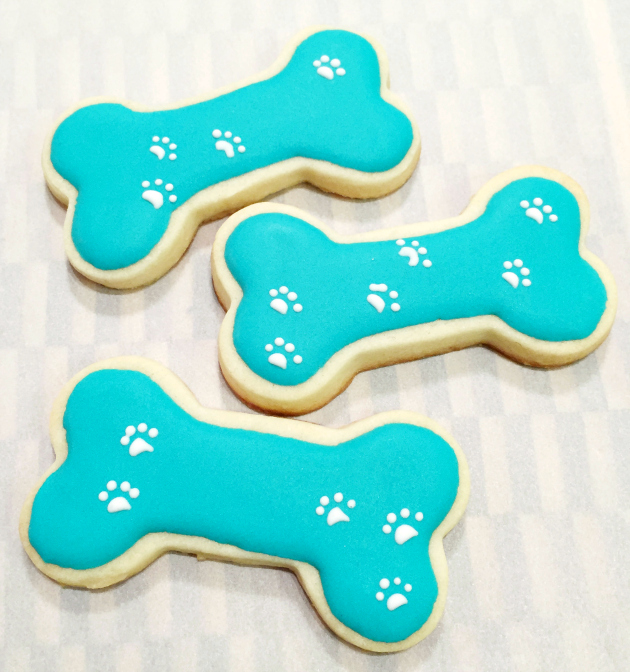
How to Decorate Dog Bone Cookies
Materials Needed:
- Dog bone cutter, (the one I used came with the dog cookie cutter)
- 15 second icing in teal
- White medium consistency icing
- Tips 1 and 3
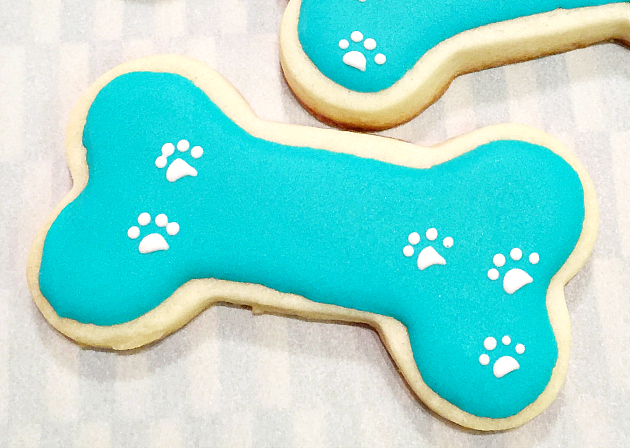
Outline and flood the dog bone in teal 15 second icing. Use your scribe tool to distribute the icing as needed. Allow to dry thoroughly (I left mine overnight).
Use medium consistently white icing and a tip #1 to create the paw prints. (Note: I used 15 second icing and some of my toes flooded together, medium consistency icing will help prevent this).

Leave a Reply