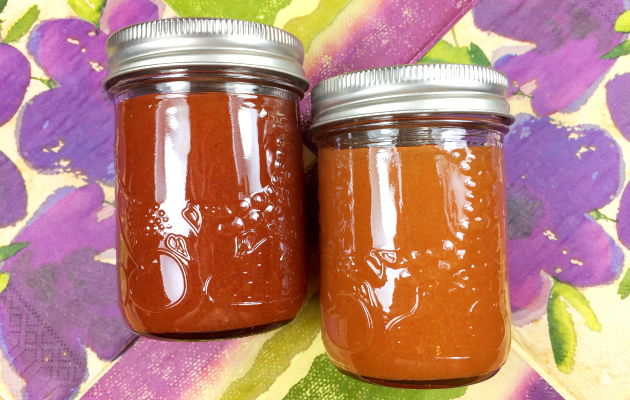
Not too long ago I was grocery shopping and noticed a stack of 600g clamshells of little guavas for $3.99. I haven’t had guavas in ages and I really wanted to buy them. But then I reminded myself that things were really busy and I probably wouldn’t have time to make anything with them anyway. So I left them.
But I couldn’t get the idea of guava jelly out of my head. Every few days I would be out shopping and see the little guavas. They called to me. Buy me. You know you want to.
So I did.
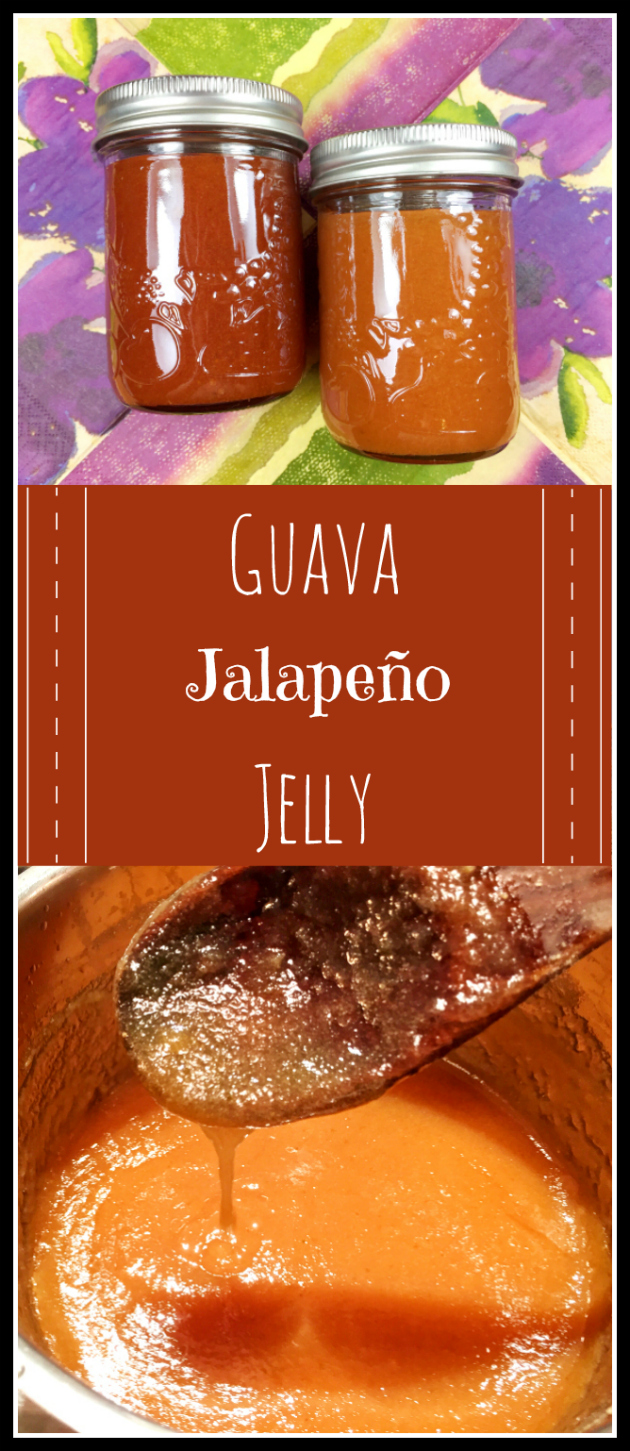
No cleaning got done that weekend. The kitchen was buried in an explosion of dishes. The dust bunnies cackled and multiplied. But I made two beautiful batches of guava jelly, one with jalapeños and one without.
Totally worth it!
Ingredients for Guava Jalapeño Jelly
Guavas
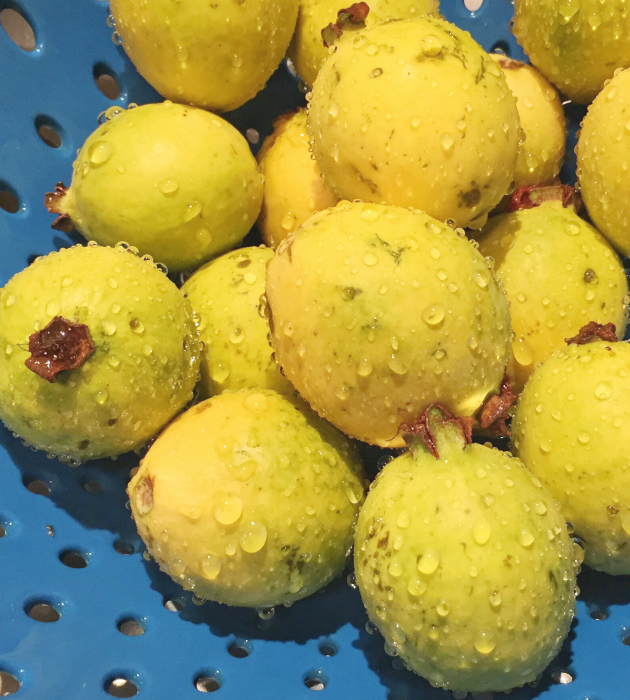
There are many different varieties of guavas including some that are a beautiful reddish-pink inside and others, like the ones I found, that are off-white inside. Mine were small, about an inch or so in diameter, started off green and became more yellow as they ripened.
Guavas are naturally high in pectin so no additional pectin is required to make jelly.
It’s very important to make sure your guavas are ripe. Ripe fruit = tasty jelly. This can be challenging if you don’t have the opportunity to buy guavas very often.
The main thing I look for when making jelly with guavas is fragrance. Unripe guavas don’t have much of an aroma. But as they ripen they give off a fruity perfume scent that fills your home. I think it’s lovely. My husband disagrees. When it got to the point that he opened all he windows because he couldn’t stand the smell anymore I declared it ‘Jelly Making Day’.
Jalapeños
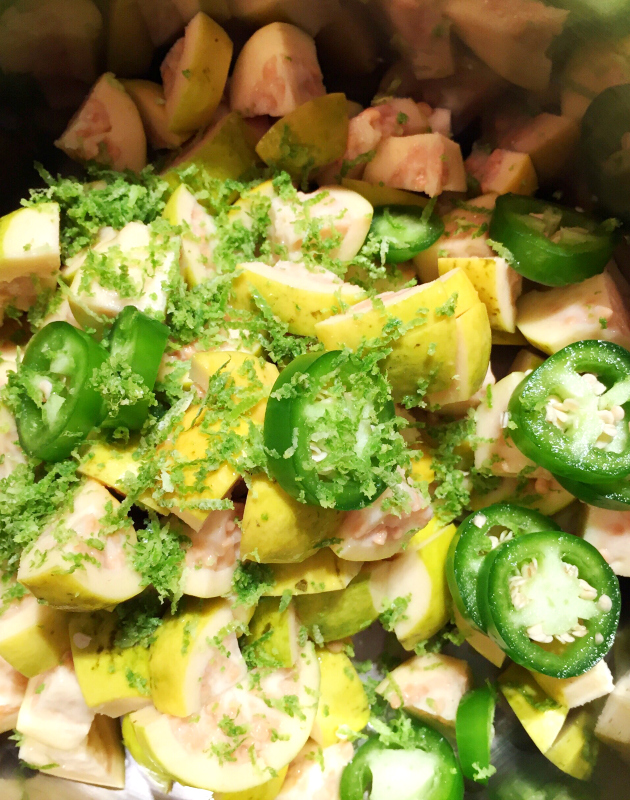
Jalapeños add a nice, subtle heat to the jelly but you can absolutely make the guava jelly without jalapeños. I made one batch without for my daughter.
Be sure to wear gloves when handling the peppers since their juices can make your skin burn, especially if you have any cuts.
Leaving the seeds in increases the amount of heat. I used one whole jalapeño including seeds and I consider the batch to be mild. If you like more heat add another 1-2 jalapeños.
Lime
Heat, sugar and citric acid are essential to react with the pectin and create jelly. You could use lemon but lime works so well with jalapeños and tropical fruit.
Making Guava Jalapeño Jelly
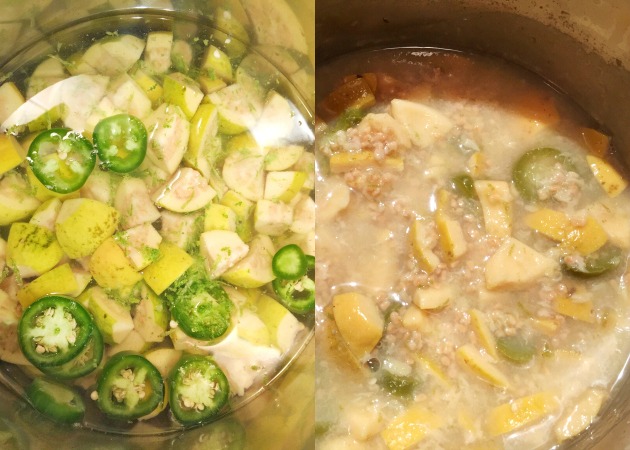
This recipe starts off pretty and then gets ugly. Very ugly. But don’t worry, it gets pretty again. I promise.
Wash your guavas, trim off the stem area, and dice into smaller pieces. I cut each guava into 8-12 pieces depending on size.
Add to a pot with jalapeño slices and lime zest. Add just enough water to cover, about 3 cups, and cook until tender and mushy, about 30 minutes.
Place a large sieve over a bowl and pour the cooked mixture into it. You can do this in batches if necessary.
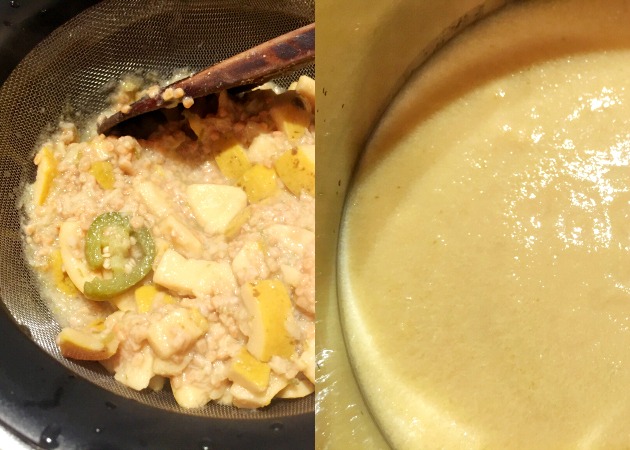
Push as much liquid through as you can and be sure to scrape the pulp that accumulates on the underside of the sieve.
The liquid and pulp that make it through the sieve will look like a pale greenish-yellow purée. Measure the mixture (you should have about 2 cups) and pour into a clean pot.
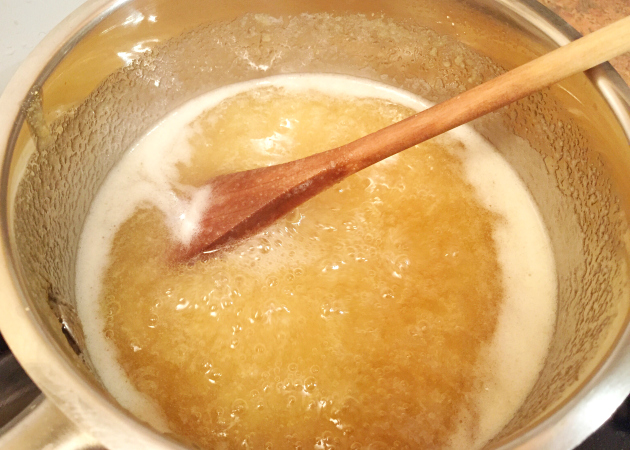
Add granulated sugar, 1 cup for each cup of purée, and the juice from the limes (6 tablespoons).
Bring to a rolling boil and stir frequently until the jelly thickens.
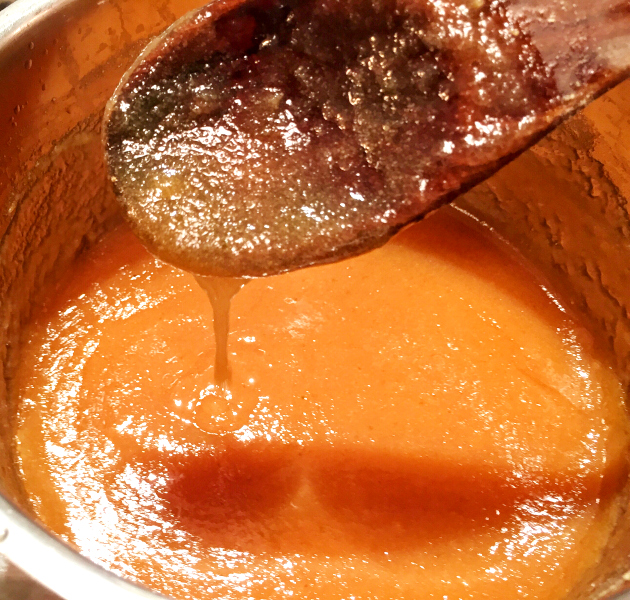
If you have a candy thermometer then you can remove the jelly from the heat once it reaches 220F/105C.
If you don’t have a thermometer (go buy one, they make life so much easier!) then the jelly is done when it gels together and pours off the spoon in a connected stream rather than in individual droplets.
Let the jelly rest for 15-20 minutes.
Processing The Jars
If you’re going to can your jelly you will need the following things:
- 8oz / 250ml canning jars with lids and bands
- A funnel
- A jar lifter or tongs
Wash your jars in warm soapy water and rinse.
Since we’re processing for ten minutes we don’t need to sterilize the jars first.
Using a funnel pour the jelly into 8oz / 250ml canning jars leaving a half inch at the top. This recipe will give you two full jars. If there is extra you can add it to a third jar, keep it in the fridge and use it first.
Use your jar lifter to place your jars in boiling water
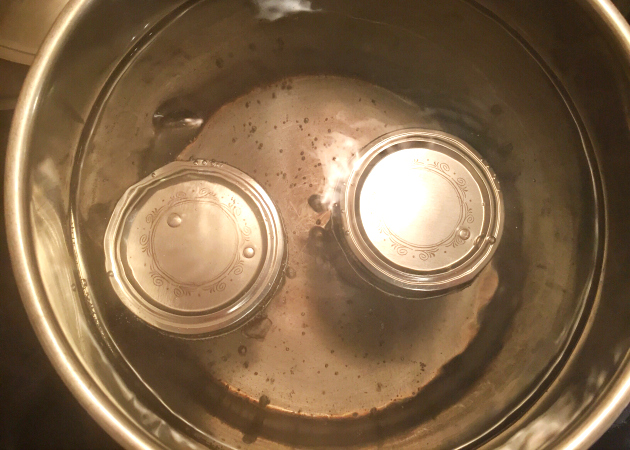
Make sure there’s at least 1 inch of boiling water covering the lids of your jars.
Boil for 10 minutes (add 1 minute for every 1000ft altitude). This will sterilize both the jars and the food inside.
Use the jar lifter to remove the jars and place jars on a tea towel or something similar while they cool.
As they cool you may hear the jars pop as they seal. After 24 hours tap on the lids to see if they’re sealed properly. If they haven’t sealed properly (happens occasionally) you can either reprocess the jar or put the jar in the fridge and use it right away.
What to Eat with Guava Jalapeño Jelly
Of course you can do the usual things with this jelly such as spreading it on toasted bread, English muffins or croissants. But you can use the jelly other ways too.
The guava and guava jalapeño jellies are very sweet so they are ideally paired with salty or spicy foods.
- Cheeses. Guava jalapeño jelly goes well with goat cheese, jarlsberg, aged cheddar. I bet it would be delicious slathered on top of brie and baked in the oven for a party.
- Cured meats. The sweet guava jelly pairs well with salami and would be a delicious surprise ingredient in a deli meat and cheese sandwich.
Another idea would be to heat up the jelly and use it as a glaze for a roasted chicken or pork dish.
While I wouldn’t use this jelly as a filling for cake or cupcakes – yikes! way too sweet – you could use it as a glaze for a not-too-sweet muffin.
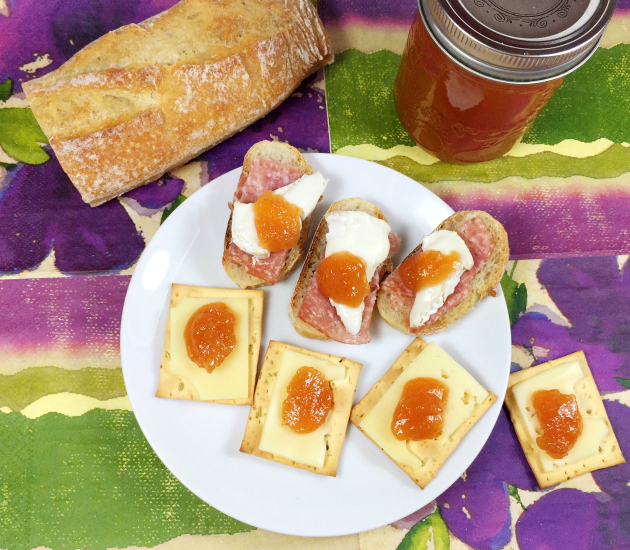
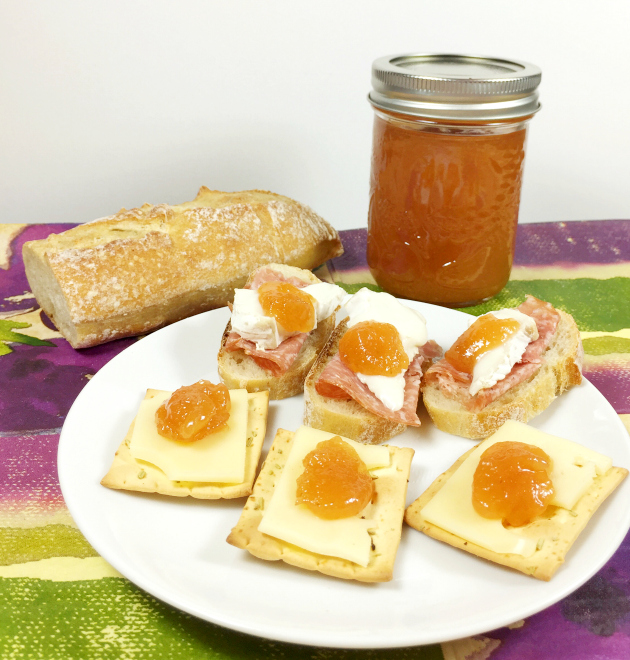
Enjoy!
- 1.3 lbs ripe guavas (600g, approx 15-17 guavas)
- 2 limes (zest & 6T juice)
- 1 whole jalapeño pepper (mild jelly, add more peppers for more heat)
- Water (approx 3 cups)
- 2c granulated sugar (400g)
- 2 x 8oz (250ml) canning jars with lids and bands
- Dice the guavas, slice the jalapeño and zest the limes. Add the fruit, pepper and zest to a pot and cover with water, about 3 cups.
- Cook until tender and mushy, approximately 30 minutes.
- Push through a strainer. You will need to scrape the pulp off the bottom of the strainer several times during this process. This will yield 2 cups of liquid.
- Add the liquid to a pot and add 1 cup of sugar per cup of liquid (2 cups of liquid equals 2 cups of sugar). Add the lime juice.
- Bring to a rolling boil and stir frequently until the mixture thickens and reaches 220F (105C), approximately 20-30 minutes.
- Take the pot off the heat and let the jelly rest for 15-20 minutes.
- Carefully pour your jelly through the funnel into your jars leaving ½ inch (1.25 cm) at the top. Add the lids then screw on the bands, but don't make them super tight.
- Place jars into boiling water using a jar lifter. Ensure there is 1-2 inches of water covering the tops of the jars. Boil for 10 minutes, add 1 minute per 1000ft altitude. This will sterilize both the jars and the food in one step.
- Remove the jars using a jar lifter and allow to cool.
- Once cooled check the tops to ensure they have sealed (you will feel an indentation). If any didn't seal properly, they will need to be processed again or refrigerated and consumed first.
2- I ended up with 2.25 cups of liquid with one batch and had extra jelly as a result. If this happens to you, you can either add another jar for the remainder and process with the rest or not process the excess and use it right away.
3- Recipe adapted from this guava jelly recipe

Made this today with big yellow guavas. Turned out great! I’ve been making varieties of sweet guava jam for over a month now (my tree produced wonderfully this year). With the last batch I pulled from the tree, I was ready to try something different. I’m glad I found your recipe!
Thank you so much, I’m glad you like it 🙂
So doing this recipe only gives you 2 jars. What if you want to do more than 2 like 6 how many guavas do I need?
That all depends on the size of your guavas. I would base it on weight. I used 600g (1.3 pounds) for 2 jars (which happened to be 15-17 small guavas). For 6 jars you’ll need 1.8kg (or 4 pounds) of guavas. Hope this helps.